
Hey folks! I'm blogging over at Sugar Bee Crafts today at 3 p.m. so be sure to check out my recipe for mouth-watering Butternut Squash Pot Pie. Thanks to my friend Katie at Off The Hook Crochet for her help with the photos for that post.
Now, as promised here's my headband holder tutorial.
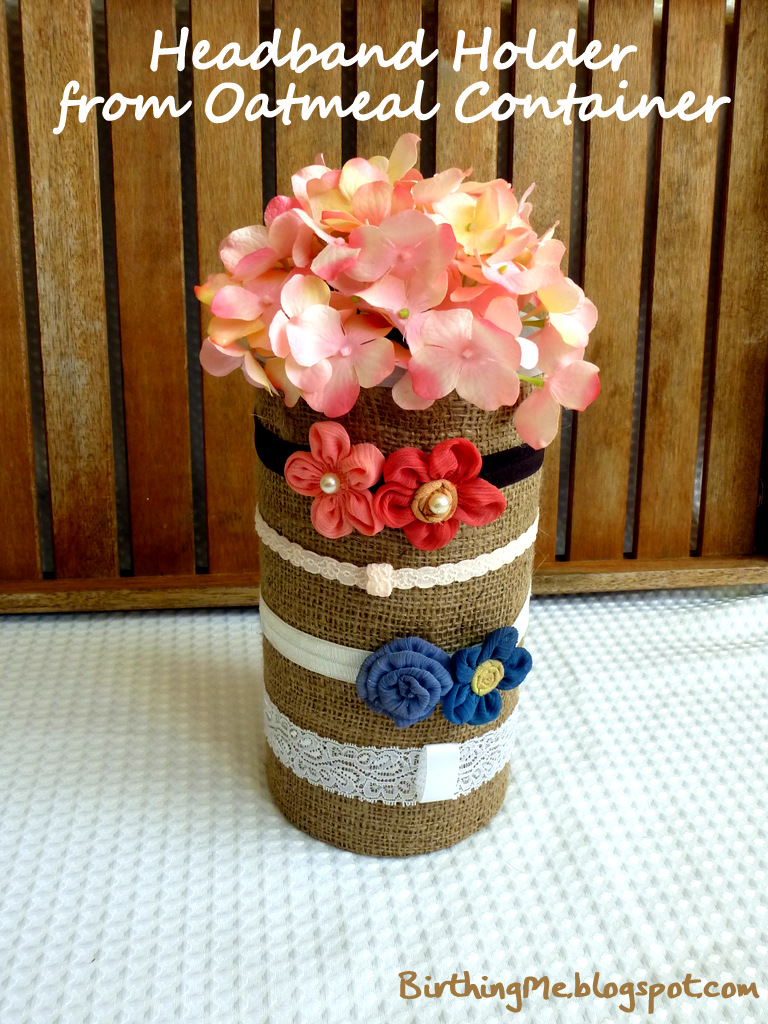
I love crafts of the trash-to-treasure variety. It feels good to make something purdy from something otherwise destined for the recycling bin. This is one of my favorite projects so far and it's the perfect time of year to make it. This requires a HUGE oatmeal container.

See that? 42 oz of Oatmeal! That could take a long time to go through, but a few batches of yummy oatmeal cookies this holiday season and you'll finish it in no time.
Peel the label off so it won't show through your fabric.


I chose to cover mine in burlap, but you could use almost any fabric, paper, or wallpaper. If you use burlap find the somewhat finished end. That will be the top of your container. I trimmed the burlap so it was easier to work with.

Once your glue gun is hot put a bead along the top of the container just under the lip where the lid goes.

Work your way around the container until all the fabric is attached along the top.


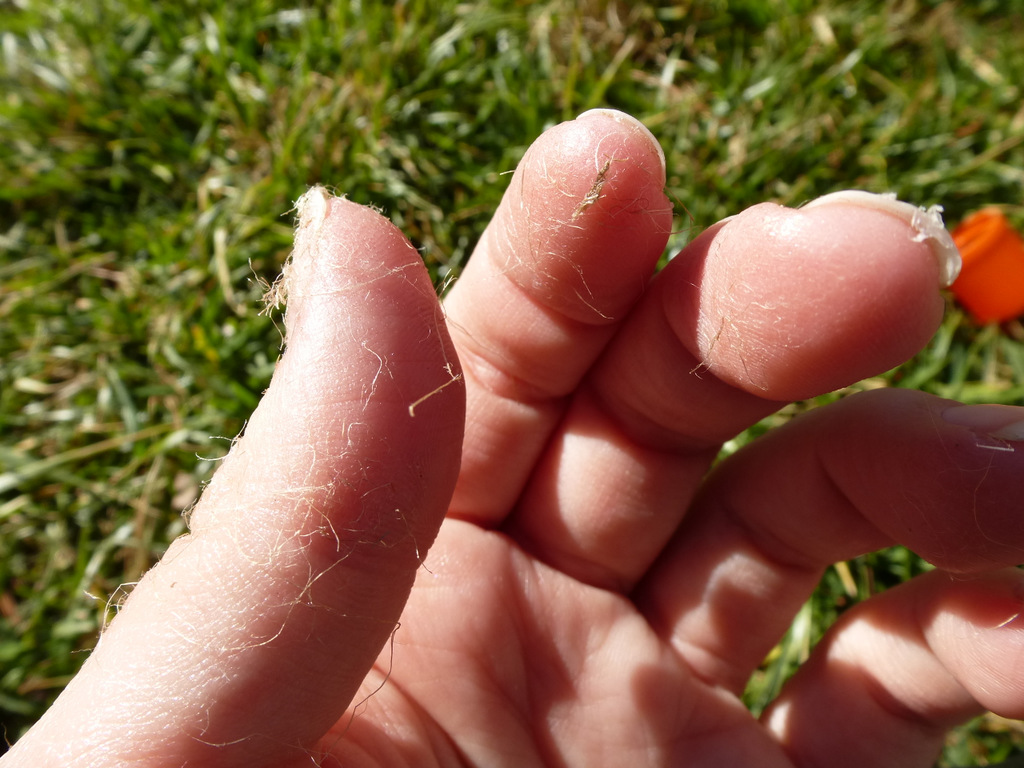
I decided to use spray adhesive to attach the rest of the of the fabric so I moved the project outside. Working in small segments spray the adhesive and smooth the burlap as you go.


Trim the excess off the bottom and using spray adhesive tuck the ends.

Am I the only one who can't use spray adhesive without being covered in the stuff by the time I finish?
I decided to finish the bottom by adding a circle of paper using regular glue. This step is totally optional as you'll never actually see it.

Put the lid back on and glue a fabric flower, crocheted flower or other topper. Put your headbands on. There you have it!

You can store hair bows, hair ties or other accessories inside the container. Who doesn't love hidden storage? If you make this let me know. I'd love to see pictures! What are you upcycling these days?
I'm linking to: Frugalicious Friday, Romantic Home, Fabulous Friday, Flaunt it Friday, The Shabby Nest, Shabby Art Boutique, The Humble Brag
What a cute idea. I have a link party called Wednesdays Adorned From Above Link Party and would love to have you share this with everyone. Here is the link to the party.
ReplyDeletehttp://www.adornedfromabove.com/2012/11/mason-jar-center-piece-and-wednesdays.html
Debi @ Adorned From Above
Thanks, Debi! I'll check out your party.
ReplyDeleteI'll need to make one of these for my daughter! She's not even born yet, and already I have bows everywhere! I'd love it if you'd share this at my linky party! http://www.accidentallywonderful.blogspot.com
ReplyDeleteWhat a great idea Rachel.Thanks for sharing at Shabbilicious Friday.
ReplyDeleteSo cute Rachel! This is totally on my to do list for my daughters!
ReplyDeleteThanks so much for linking up last week at The Humble Brag!!
The Silhouette Cameo giveaway is still going strong and you can get MORE ENTRIES by signing up for link party email reminders, sharing the giveaway on FB with your readers, and linking up again. Hope to see you there tomorrow.